


I have even given some of my sourdough starter and Celia's recipe to two of the mothers at school who hadn't baked sourdough bread before. These friends have had great success with it. It is lovely to have other sourdough bakers to chat to in the playground. And it demonstrates that it works for others too. It is such a brilliant recipe.

STEP BY STEP: OVERNIGHT SOURDOUGH BREAD

NOTES: However I have had days where I have taken it from the fridge and put it straight in the mixture and it still works. My starter is 100% hydration (ie I add equal grams of flour and water) but Celia's is a slightly different hydration because she uses cup measures to feed her starter.

300g of bubbly starter
570g water
18g salt
1 kg of flour
NOTES: I usually mix the starter, water and salt first and then add the flour but sometimes I do it all together. Celia suggested using your hands. Some days I just use a spoon and some days I dig my hands in as well. Cover with clingwrap and rest for 30 minutes.

NOTES: I sometimes put a little flour on my hands if the dough is sticky. On a couple of occasions I halved the dough to let it rise as two balls but this is too fussy. However I did discover that the dough kneads smoother and easier if the bowl is cleaned and oiled. But again it is not something I really want to do late at night or first thing in the morning.
I usually grease the clingwrap in case it rises enough to stick to it. Or sometimes I have dusted it with maize flour.

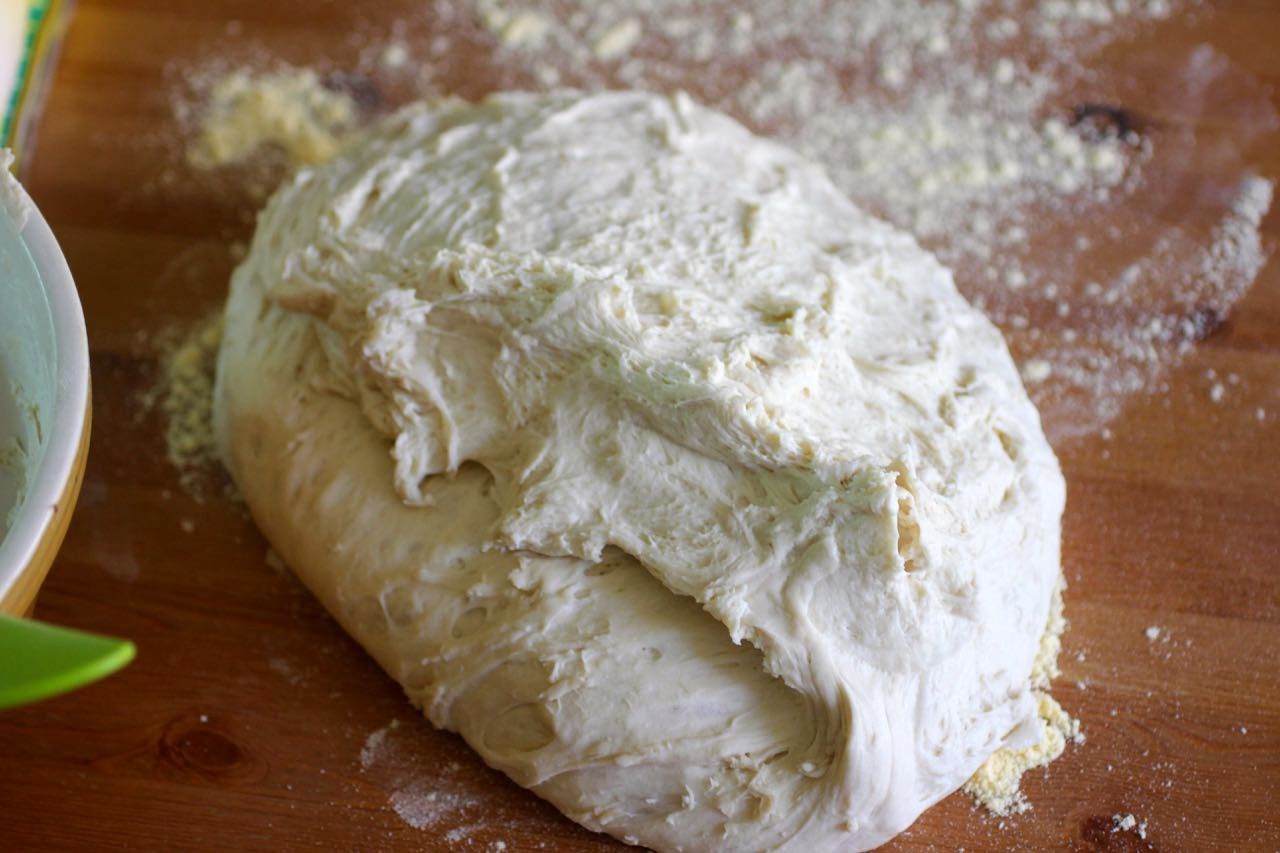
NOTES: I have a silicon spatula that I use to scrape the dough out of the bowl. The dough should not be punched down at this stage. I use maize flour - a very fine polenta or cornmeal that has been in my flour collection for ages and finally I am using it. Celia uses a fine semolina but warns that wheat flour makes it stick too much. Hmmm... I wonder if I forgot to fold the dough in three last time.

NOTES: I used to use a knife to cut the dough but it tore at the dough. Celia has dough scrapers to cut her dough but I don't have any. So I started to use a firm plastic eggflip/spatula that is a bit like a dough scraper. It cuts more cleanly.
I am still learning to shape the dough but find online advice useful such as Celia's advice. What I have learnt is important (especially for slashing) is to have the outside of the dough really tight or tense so you need to pull it tight towards the bottom. I have sometimes sprinkled flour over the top of the dough so I don't need to grease the clingwrap.

NOTES: Celia bakes her loaves in enamel roasters. I have a cheap oval ceramic casserole dish and an old round ceramic casserole dish. Neither are ideal but they do the job. I prefer oval to round loaves. Oval loaves produce more manageable slices, though it is easier to shape the round loaves. However my main problem with the round casserole dish is that it doesn't have handles and is hard to get out of the oven when it is quite snug against the oval one. I keep meaning to find another dish but it is not that high on my list of priorities. UPDATE I now have enamel roasters.
It is not necessary to use the casserole dishes - bread can also be baked on an oven tray or in a tin, neither of which needs to be preheated when you preheat the oven.


NOTES: I haven't been great at slashing loaves. Lately I have been doing better. I am not sure if it is the recipe or my purchase of a stanley knife to slash. The stanley knife is constantly getting rusty and I need to scrub it so it is not ideal. Sharpening my knives just before slashing also helps. Most of all, I find you need a firm confident hand for slashing. UPDATE on the slashing - I now am back to using a knife but a confident hand. It also makes it easier to slash if the dough has good tension so it springs back.
Then I find that transferring the loaves into the heated casserole dishes and keep the slash open because even my gentle handling seems to make the dough a little misshapen. However this usually seems to sort itself out in the oven even if the dough lands in the dish a bit skewhiff.
And yes, the casserole dishes don't need greasing. If you use a tray or tin you might need grease or baking paper.


NOTES: The bread keeps baking when out of the oven. If you slice in too early the texture will be claggy but if you are really impatient or hungry it is very edible.


- I have made this recipe with half the ingredients and it works well but I figure we will always go through the bread even if some needs to go into the freezer so now I always make two loaves. I have even been known to give the second loaf to a friend.
- If you don't have scales you can convert to cups - one friend doesn't have scales and is delighted with her bread.
- I recently tried adding a tablespoon or two of chia seeds and about 1/4 of the flour being wholemeal. This worked well. I also loved a loaf I made with a combo of rye, spelt and wheat flours.
- The time the bread takes to rise is quite different on chilly winter nights than in summer. On some winter mornings when I bread hasn't risen well overnight I put it in a warm place like near to the heater to help it rise.
VARIATIONS:
There are so many sweet and savoury variations that can be made with this loaf. I have experimented with a few ideas and link to them below. I hope to try more:
- Carrot, onion and poppyseed bread
- Charcoal sourdough bread
- Chocolate, cranberry and apricot sourdough bread
- Lemon and sesame sourdough bread
- Malted loaf with chocolate, figs and brazil nuts
- Overnight sourdough bread with mashed potato
- Roast potato and rosemary bread
- Savoury monkey bread
- Sourdough fruit bread with poppy seeds
- Sourdough cheesymite scrolls

I can't recommend this bread highly enough. In fact I suspect I might not have been keeping my sourdough starter alive if I didn't have this easy recipe to make it a doddle to bake sourdough bread regularly.
I am sending this sourdough bread to Susan of Wild Yeast for YeastSpotting. And I am sending it to Jacqueline at Tinned Tomatoes for Bookmarked Recipes.
More sourdough recipes on Green Gourmet Giraffe:
Basic sourdough loaf
Sourdough chocolate cake
Sourdough hot cross buns
Sourdough pizza bases
Sourdough flatbreads
More sourdough recipes elsewhere online:
24 hour GF sourdough bread - Gluten Free Gourmand
Hazelnut and fruit sourdough loaf - Milk and Honey
Sourdough bread bowls - My Borrowed Kitchen
Sourdough currant buns - CityHippyFarmGirl
Sourdough english muffins - In Vegetabes We Trust
On the Stereo:
Teddy Boys Don't Knit: Vivian Stanshall
What lovely looking loaves!
ReplyDeleteYour bread looks fab. I notice that you use 1kg of flour to 300g starter, whereas I've been using 1kg flour to 400g starter so I'm going to try your ratio as it means a little less time spent feeding my starter.
ReplyDeleteThanks Anne - I think this is lower ratio than some of the other sourdough baking I do but it works so hope it works for you too.
DeleteGorgeous loaves! Well done!
ReplyDeleteThese are fab looking loaves - so golden and plump.
ReplyDeleteI love that no knead recipe. It makes such a great loaf and I don't even use a sourdough starter in mine and it still have a great crunch and crumb. Brilliant idea to whoever invented it.
ReplyDeleteThanks Lorraine - yes I remember the Jim Lahey overnight bread recipe - this is similar but I think Celia's recipe is even easier! Both do make excellent bread.
DeleteGreat looking loaves! Sounds like you have a real keeper of a recipe there. I have never actually made a sourdough, although I know there are a few reasonable-looking GF versions out there.
ReplyDeleteThanks Kate - am sure you make sourdough starter one of these days - the one I linked to at the end of the post looked interesting.
Deletethanks Johanna, this is really helpful. I've been wanting to try this for a while so your notes and step-by-step are really handy!
ReplyDeleteGreat recipe Johanna and just look at that loaf! Stunning!!! Beautiful photo too. BTW the Bookmarked Recipes roundup is live, Thanks for joining in.
ReplyDeleteWow... your bread is beautiful! It looks like something you should sell at a market - you should be a bread lady =)
ReplyDeleteThank you for sharing this recipe as the thought of making my own bread was a little overwhelming. You make it sound so simple.
How wonderful! Lovely post Johanna, sorry I missed it in March! Thanks for all the linky love, and I'm SO happy you're enjoying the recipe, and even happier that you've changed it up and bit and made it yours! :)
ReplyDeleteI've started your "sourdough basics - baking a loaf" steps tonight but will give this a go next time. I made no knead bread in my cast iron/ camp oven every few days so will actually bake the one tomorrow in that. Thanks again, has been great to read all of your tips - between you and Celia I'm just itching to bake sour dough!!!! Isn't it wonderful unearthing a new love :)
ReplyDeleteJan x
The bread turned out really well (shame I can't share a picture!!) but will give this overnight one a go too. Just curious Johanna, you say to take the starter out of the fridge and feed it - how much are your quantaties for feeding? I'm assuming you take the 100g to create your new starter out as well as the 300g....sorry just thinking out loud :)
ReplyDeleteGlad to hear your bread is working Jan - sounds v exciting - when I saw to feed the starter I don't have any set quantity but just make sure there is enough for the 300g plus some leftover to feed so if there is lots in it I might feed between 50 and 100g each of flour and water but if it is low I might feed it more. If the starter is looking really bubbly and healthy I sometimes just give it a few hours out of the fridge to bring it to room temperature but don't feed it.
DeleteGreat thanks for that :) so exciting!!!
DeleteThanks so much for this recipe! I have used it four times now and it's always great. And the overnight rise just makes it so easy to manage. Love it!!
ReplyDeleteThanks for the feedback Jennifer - glad to hear it works well for you - I still love making it
DeleteHello, I was so glad to Celia's recipe adapted to 100% hydration starter. I have been struggling with this recipe because her starter, I think, is 166%. Thank you for posting... I am going to give it a try.
ReplyDeleteCurious because I am learning why did you increase the amount for starter? Is it just preference? Her recipe uses 110 g of starter. Is it because they are different hydration? Better yet, how did you know what to adjust the amount too?
ReplyDeleteHi Scizzors - I actually use the same amount of sourdough that Celia uses in her 2014 overnight sourdough bread but in her more updated high hydration bread she uses 110g - (which I hadn't noticed) - it is interesting that both amounts work for her - I think I use more starter than my mum uses in her bread so you could probably do less if you want - probably depends on how much you want to get rid of - I have been doing 300 g since I started doing this bread and it works so I stick with that. Good luck with trying the bread - hope it works for you!
DeleteI am new to sourdough and your post the was perfect step-by-step I needed to dive into sourdough bread making. Thank you for your wonderful writing!
ReplyDeleteHi! I'm baking this bread as I type, but I was curious if you only have a pan/tin, then how long do you bake it? Still 50 minutes total? At what temperature? I LOVE this bread recipe! So simple and beautiful!!! Thanks for sharing!
ReplyDelete